Wednesday, June 16, 2010

Pumpkins in June?! Really?


Why do I have a picture of pumpkins and a very handsome rooster you might ask?  Well, I will tell you, but first let me give you a little background information.  J and I live in a 110 year old home off the square and the traffic around our house can become quite busy at certain times of the day.

Monday, I was watering the flowers in the front yard with the handsome rooster pictured above.  It was "quittin' time" and the traffic was getting heavy.  All of a sudden, this lady pulled over in front of the house.  Now, this happens quite often when we are outside.  People are either lost or want to know where so and so lives.  Since I had the rooster with me I was somewhat apprehensive about the situation, but the lady ended up being very nice. 

Here is where the pumpkins come in.  The lady pulled over to inquire about my pumpkin topiaries I display during Halloween.  She asked, "Where did you buy the stacked pumpkins you put out for Halloween?"  I replied, "I made it from the carvable pumpkins you buy at Michael's."  Now she has a disappointed look on her face because she wanted to buy them so I proceeded to tell her how to make them.  Please remember she is still pulled over in front of my house.

Now, I don't mind telling her how to make the topiary, but now there are two cars stuck behind her. Also, I am trying to explain how to do something and watch my rooster at the same time.  I continue to tell her where to buy the pumpkins, what tools she will need and how to assemble to topiaries.  When I finish there are at least 10 cars behind her waiting patiently for us to finish our conversation.  You have got to love the South!

I was extremely flattered that she liked my house at Halloween.  She said that every time she goes by the house she always thought about the pumpkins.  Then she saw me outside and took a chance on asking me about them.   I will promise to post the directions for making your own pumpkin topiary.  I need to make new topiaries anyway.  I have had the two original ones for five years (and three moves).  Needless to say, during the moves they were pretty banged up and the rooster did a number on one of them this past Halloween.

So please check back around September for the how-to!


Tuesday, June 15, 2010

Charleston


This past weekend J and I went to Charleston, SC to celebrate our 10th anniversary.  I have never been to Charleston and J has only been on business.  We had a great time exploring the city.  We did a ton of walking and eating.  It was VERY hot so we visited several local establishments for something cold to drink and to borrow their air conditioning for a few minutes.


We stayed at Charleston Place on Market Street and it was wonderful.  I can't wait to go back again!  One night we had dinner at The Charleston Grill which was in our hotel.  I would have to say it was probably one of the best dining experiences I have ever had.  A jazz band played during dinner and our table was very near the band.  The food was wonderful and I would highly recommend the crab cake if you ever get the chance to dine there.


We did a walking tour with Tommy Dew from On The Market Tours on Saturday morning.  He concentrated on the original settlement of Charleston, and explained how the city develop over time.  He was very informative and very entertaining.  If you have never been to Charleston before, I would highly recommend having Tommy show you around.   When we return (which I hope is soon) I would love to go on another tour with him.  Please click here to visit his website.


For me, there are very few cities that you just instantly fall in love with and want to visit over and over again.  My first love is and always will be New Orleans.  I grew up visiting New Orleans often, and J and I were married at the St. Louis Hotel in the heart of the city.  However, after our trip to Charleston, I may have a hard time deciding between the two!


Nathaniel Russell House
Click here to visit website

Stained glass inside St. Michael's Episcopal Church

Rainbow Row

The French Huguenot Church
Click here to visit website


PS-  Right when J and I pull onto the interstate we realize that we left our camera at home.  We were already running late so there was no turning back.  I had to get these pictures from Flickr, but I just had to share some of our favorite places.  Oh well, that could be my excuse to go back this fall!
St. Philip's Episcopal Church
Click here for more information

Monday, June 7, 2010

THE LOVE LIST: F You, BP.

This morning, as I was having my first cup of coffee and catching up on what happened in the world as I slept, I came across Jess Graves' blog, The Love List.  I have been following her for quite some time and enjoy her blog.  Usually, her posts are about fashion and interior design, but yesterday she wrote about the oil spill.  I thought she pretty much summed up how many of us feel about this disaster.  Therefore, today I have posted a link to her blog.  At the end of the post, she has a link to the photograper's blog where you can see more pictures of the pelicans.  I will warn you that the pictures are heartbreaking.  Please click the link below to read her post.  Thanks, Jess, for saying what many of us feel.
THE LOVE LIST: F You, BP.

Friday, June 4, 2010

Teacher's Gifts


 Finally, our school year has come to an end!  The boys had another great year and now it is on to summer fun!  Both of the boys had such wonderful teachers this year and we are thankful for all that they do for our children.  I wish I could give their teachers an all-expenses paid vacation to a remote island of their choice, but I guess this will have to do.  My friend K has a daughter in the same grade as O so we made a star for each of the teachers in the kindergarten classes.  We couldn't give them the moon, therefore, a star will have to do!  Happy Summer, everyone!


Wednesday, May 19, 2010

Magnetic Picture frames


Well, I finally finished one of my many projects I have going on.  Well, to be honest, I finished 99% of the project.  I have been wanting to make six large magnetic pictures frames to hang in our entry.  I wanted magnetic pictures frames for many reasons.  Here are just a few:

  1)  I thought it would be different.
  2)  I wanted to be able to change the pictures throughout the year to match the season.
  3)  I didn't want to be locked in to only using pictures of a certain size and/or layout.
  4)  I also wanted to be able to display my childrens' artwork.

You can make your own frames even is you do not have a table saw!  Here is what you need to do.  First, I chose to make the overall size of the frame 20" by 22" and the size of the "mat" 14" x 16".  I decided to use 3/4" sanded plywood as the "frame" (the blue color) and backer board for the "mat" (the brown color).

Instead of buying plywood that had been cut into 24" square and cutting it myself, I discovered it was cheaper to buy a whole sheet of plywood.  I gave the nice man, Wynn, at Home Depot my dimensions and he gladly cut it for me.  I think it also helped that I had Baby M with me so he couldn't say no to a mother with a small child.  I ended up with 8 "frames" and 2 odd piece that I could still use, but they were not the same dimensions.

I then choose to use backer board that was 1/8" thick.  This will be the "mat" for the frame.  I choose this because it was light in weight.   I needed to six mats for go with me frames so I bought a whole sheet of backer board.  Again, I gave my dimensions to the nice man, Wynn, and he gladly cut it for me.  ( I did this the next day and this time I had all three boys with me so he couldn't say no!) 
I painted the plywood with Berh Premium Plus Ultra.  This is their new paint that is mixed with primer.  I then used Rust-oleum Magnetic Latex Primer for the backer board.  The directions say to use a high density foam roller, and I would highly suggest you do.  I have used a different roller with this primer on a different project and I had to sand it down.  They also suggest to 3 thin coats of the primer, and again, I would do it. (maybe even four!)

After the magnetic primer has dried, you can then paint the "mat" whatever color you choose.  However, do not use the paint with primer.  Your "mat" will not be magnetic anymore!  I found that out the hard way.
I then centered the mat on the plywood and used a nail gun with 3/8" nails to secure it. 

I would suggest that you use the silver magnets that are sometimes called super magnets for your frame.  You can find these at your local craft stores.  I have found that the black magnets that you use for other crafts just aren't strong enough.

Here's the finished product!!

My husband and I built the table above using on of Ana's plans from Knock-Off Wood.  I am not done with it yet, but will let you know when I am finished.

I hope this will inspire some of you out there!  You can customize the frame size to fit your wall.   You can also distress the frames but I decided not to this time.  Please let me know if you have any questions and/or suggestions!

Thanks!  Southern Nest

Sunday, May 9, 2010

Happy Mother's Day

Happy Mother's Day to everyone!  Growing up, I was very lucky to have a wonderful mother and lots of "aunts" who were always around.  They were great role models, and there was always someone there to watch out for you...even when you didn't want them to be.

I have also been blessed with an awesome mother-in-law and sister-in-law who are so loving and supportive and wonderful mothers as well!

Thanks to all the mothers in my life!  And a big thank you (and hug) to my own mom who has given me so much and showed me how to be a great mom.  I love you!

I thought I would share some pictures of three of cutest babies that I know!  I love the three of you more and more each day and I am so proud to be your mommy!


Tuesday, May 4, 2010

The Tooth Fairy Cometh


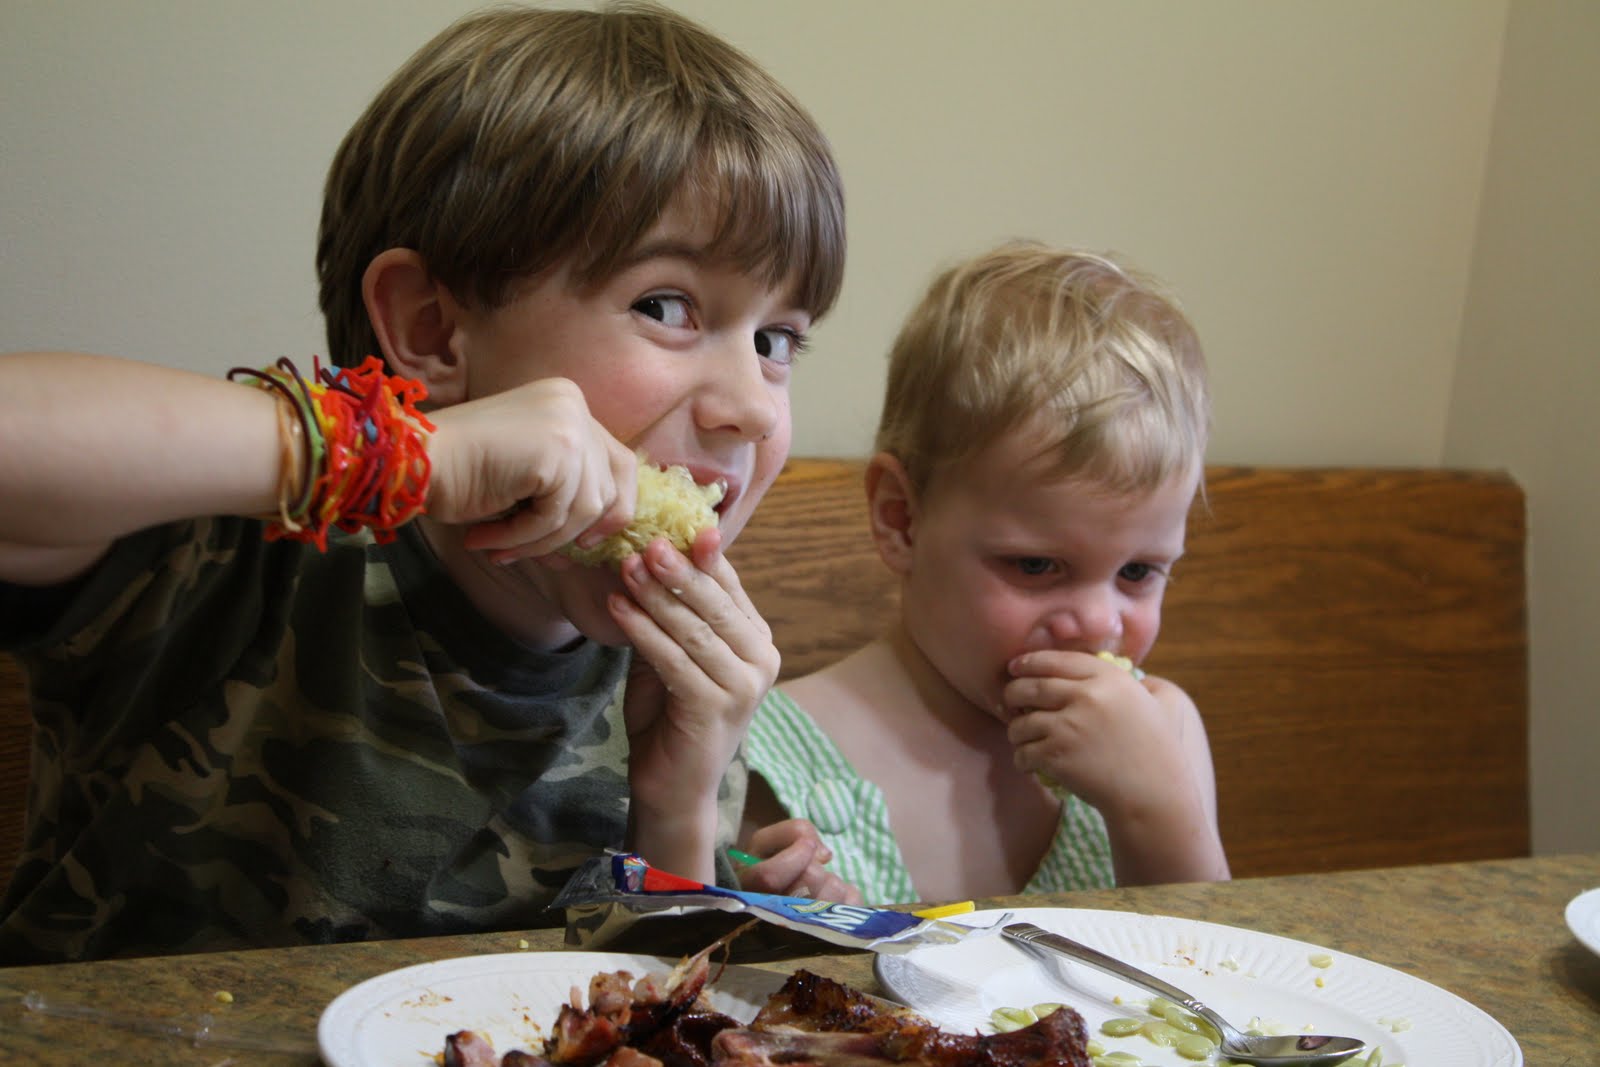
Our little nest had a big weekend.  We watched the Derby...and lost.  We went to a draw down raffle...and lost.  And speaking of loosing, Little O lost his very first tooth.  He even pulled the tooth all by himself (however, it was just hanging by a "thread"?)

I think the corn on the cob gave the tooth that extra push it needed to come out!


Here is the play by play of how the first tooth was pulled.
I am pulling my first tooth!

Oh my gosh!  I am pulling my first tooth!

I did it!


Other things that occurred this weekend...
                                          photo from A Country Farmhouse.  Click here to see more.

I have decided to try open shelving in our kitchen.  I hate our cabinets!  It doesn't matter what color I paint them or if I glaze them.  I just do not like them!  Since the new trend seems to be open shelves in the kitchen, I thought I would give it a try.  I have been using these photos as inspiration.
photo from The Lettered Cottage


If you have not stumbled across The Lettered Cottage you must go to it now!  Layla and her husband have transformed their home and have been gracious enough to share what they have learned along the way.  She has wonderful ideas for those of us who are on a budget, and I just loved what she did to the kitchen.  Click here to visit her website.

I have removed the doors from four of our kitchen cabinets.  I still need to hid the sippy cups and Tupperware so those doors will stay.  We are taking Layla's advice and we will be adding trim around the cabinets and on each shelf.  I promise to post the before and after pictures once the project is complete. (hopefully, next week!)

Here is another project I have going...(wouldn't be me if I did things one at a time) :)


My husband built this table by using the plans from Knock-Off Wood.  If there is a piece of furniture that you would love for your home but don't want to pay the high price tag, she has the plan for you.  Her furniture plans are inspired by Pottery Barn.  This is our second project we have built using Ana's plans.  We started out by building bookshelves.  It was so much fun and her plans were very easy to follow.  I highly recommend that you hop on over to her site and see what she has to offer.  You can either click here or on her website above.  Check back later for a post devoted just to Ana's site.